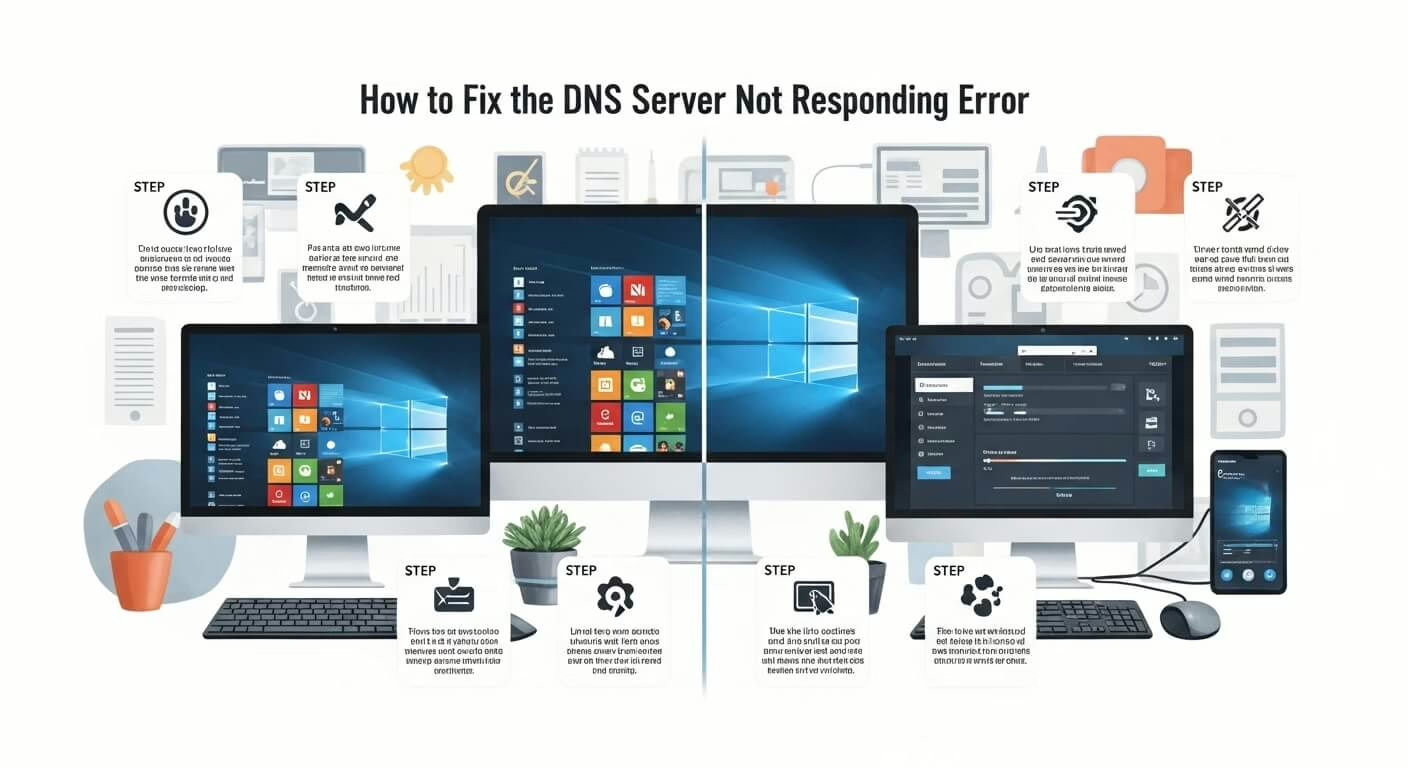
11 Ways to Fix the DNS Server Not Responding Error

11 Ways to Fix the DNS Server Not Responding Error – A DNS is a directory that converts domain names or hostnames into Internet Protocol (IP) addresses. Users can readily visit websites on the internet using web browsers as a result of this process.
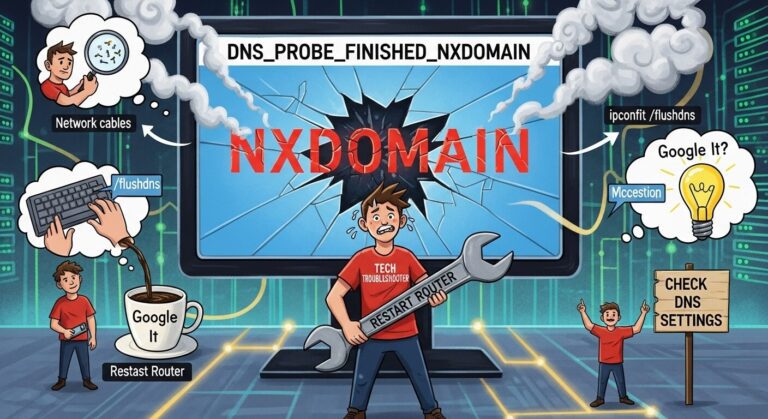
Also read: 9 Ways On How To Fix DNS_PROBE_FINISHED_NXDOMAIN Error
When visiting a website, you may encounter certain DNS error messages, one of which is the “DNS server unavailable” message. This signifies that the web browser is unable to connect to the site because the DNS server fails to correctly translate hostnames to IP addresses.
11 Ways to Fix the DNS Server Not Responding Error
The “DNS server isn’t responding” problem can be caused by a variety of factors, including misconfigured network adapters and incorrect DNS server addresses. Fortunately, the majority of these issues are user-generated and can be resolved quickly.
Also read: 27 Best Chrome Extension For Web Developers In 2025
This post will go over 11 alternative solutions for the “DNS server not responding” error message on Windows and Mac, as well as various common causes for this error message.
How to Fix the DNS Server Unavailable
Are you too busy to read? In this video, you will learn how to resolve the DNS Server isn’t responding problem.
1. Troubleshoot Network Problems
The first step on how to fix “DNS server unavailable” error is to run network diagnostics. This method can quickly diagnose and troubleshoot all observed network faults and errors.
This article will show you how to conduct network diagnostics on both Windows and Mac machines.
Run Windows Network Diagnostics
To conduct network diagnostics on Windows 10, follow these steps:
- Navigate to Control Panel -> Network and Internet -> Network and Sharing Center on Windows.
- Under Change your networking settings, click Troubleshoot problems.
- Click on Additional Troubleshooters -> Internet Connections -> Run the troubleshooter.
- Allow the troubleshooting process to finish. If an error message shows on the window, simply follow the procedures outlined to resolve the problem.
Configure Wireless Diagnostics on Mac
How to Run Wireless Diagnostics on MacOS
- Close all open apps and reconnect to the network that’s giving you trouble.
- Select the Wi-Fi status indicator in the menu bar while holding down the Option key, and then select Open Wireless Diagnostics.
- To test your network connection, follow the directions on the screen.
- When the scanning is finished, click the Info button in the Summary window to learn more about each item on the list.
If this procedure does not resolve DNS server issues, move on to the next step.
2. Use A Different Device to Connect
Another alternative on how to fix DNS server unavailable is to connect a different device to the same home network and access the site that’s giving you difficulties.
If the second device can view the web page while connected to the same network, the issue is with your primary device.
Also read: 15 Simple Solutions To Fix The Net::Err_Cert_Authority_Invalid Error
If you still can’t access the website with other devices connected to the same network, there could be a problem with your router.
Using alternative connections, such as mobile data, can also help establish that the problem is not on the site’s end.
3. Switch to Another Web Browser
Another simple solution to the “DNS server not responding” problem is to visit the website using a different web browser.
For example, if Mozilla Firefox is your default browser, try accessing the web page through other browsers such as Microsoft Edge and Google Chrome.
If this approach works, upgrade your default browser to the most recent version or totally reinstall it. If the notice “DNS server isn’t responding” comes again, the browser is not the source of the connection problem.
4. Restart the PC in Safe Mode
An incorrectly functioning operating system can result in the “DNS server not responding” error message. This is one of several ways on how to fix DNS server unavailable.
To determine whether this issue is causing the DNS server unavailable, restart your computer in safe mode, which is a stripped-down version of your operating system that might limit the files and resources necessary to run your device.
To start a machine in safe mode on Windows, follow these steps:
- Go to the Start menu, click the Power button, hold down the Shift key, and then click Restart.
- Click Troubleshoot -> Advanced options in the Choose an option window.
- Select Startup Settings from the Advanced menu, then click Restart.
- To enter Safe Mode with Networking, use the F5 key on your keyboard.
If you’re using a Mac, follow these steps to boot into safe mode:
- Go to the Apple menu and select Shut Down. Wait about 10 seconds after your device has shut down.
- Turn on your Mac and swiftly hit and hold the Shift key until the login screen appears.
If your network connection works in safe mode, it is possible that third-party software is creating the “DNS server not responding” error. To fix this, locate and delete the application from your computer.
5. Restart Modem or Router
A non-functioning modem or router can also be the cause of a DNS server isn’t responding and the connection failing.
Consider restarting your modem or router to clear the cache, this is one of easy ways on how to fix DNS server unavailable.
Also read: How to Fix Chrome’s Err_Cache_Miss Error
Unplug your router or modem’s power cable from the power outlet and press the power button. To restart it, wait at least 30 seconds before pushing the power button again.
If restarting your modem or router does not help, try resetting it to factory settings. Check the device’s instruction manual for instructions on how to reset your modem or router.
6. Deactivate Antivirus and Firewall
Antivirus and firewall software are designed to keep your device safe from dangerous applications. These programs, however, have the potential to disable your internet connection.
Try temporarily deactivating your antivirus and firewall programs to see whether they’re the source of the “DNS server is not responding” issue.
On Windows, go to the Start menu and select Settings -> Update & Security -> Windows Security -> Virus & threat protection.
On a Mac, navigate to System Preferences -> Security & Privacy -> Firewall.
After you’ve deactivated your antivirus and firewall software, perform the network diagnostics and reopen the page in your browser.
If this resolves the issue, reactivate the antivirus and firewall programs by updating or reconfiguring them.
7. Disable Other Connections
Disabling unused connections on your device is another option on how to fix DNS server unavailable issue.
To disable additional network connections on Windows, follow these steps:
- Go to Control Panel -> Network and Internet -> Network and Sharing Center to get started.
- On the left column, click Change adapter settings.
- The page Network Connections will display. Disable the Local Area Connection and any additional connections you’re not using by right-clicking them.
Here’s how to turn off additional network connections on your Mac:
- Navigate to the Apple menu and -> System Preferences -> Network.
- To terminate an unneeded connection, select it on the left side of the screen and click the minus (-) button.
After you’ve disabled all unnecessary connections, restart your browser and attempt again to view the page.
8. Modify the DNS Server Address
If the website still cannot be reached after attempting the preceding remedies, consider changing your DNS server address.
Your home network is set up to automatically receive a DNS server address from your internet service provider (ISP). However, if your ISP’s DNS server is not responding, the configured DNS server is wrong, or does not exist, your internet service will cease to function.
Change your DNS settings and use an alternative DNS address to temporarily resolve this issue. This permits your browser to continue to load websites from the internet.
Fortunately, several providers, such as Cloudflare and Google Public DNS, provide free DNS addresses.
Follow these procedures to configure additional DNS servers on Windows:
- Type ncpa.cpl into the Windows search box to get the Network Connections page. Enter your password.
- Right-click the connection you’re using and select Properties.
- Select Internet Protocol Version 4 (TCP/IPv4) -> Properties from the Properties window.
- In the Internet Protocol Version 4 (TCP/IPv4) Properties tab, check the Obtain an IP address automatically and Use the following DNS server Addresses boxes.
- Fill in the Preferred DNS Server and Alternate DNS Server columns with the DNS server addresses you choose.
- Select OK after checking the Validate settings upon exit box.
- Start your computer again.
Here’s how to update the DNS server address on a Mac:
- Navigate to the Apple menu and select System Preferences -> Network.
- Select Advanced -> DNS from your primary network connection.
- To add a new DNS server, click the plus button (+). Click OK, then Apply.
Reset your internet connection to determine if the “the DNS server isn’t responding” issue has been repaired.
9. Flush DNS Cache
Flushing the DNS cache is another option on how to fix DNS server unavailable. Clearing the router cache may assist in getting the DNS to work properly.
To clear DNS cache files on Windows, follow these steps:
- To reach the Windows command prompt terminal, type cmd into the Windows Search box and click Enter.
- Enter ipconfig/flushdns into the command prompt and hit Enter.
- A confirmation message will show on the command prompt if the process is successful.
The procedures to flush DNS cache files on Mac are likewise straightforward, but it’s critical to use the correct command prompt for your operating system version.
Open the Terminal on your Mac by hitting F4 and typing “terminal” into the Launchpad’s search box.
Once the program is open, execute the command that corresponds to your macOS version.
Enter the following command on macOS Big Sur:
sudo dscacheutil -flushcache; sudo killall -HUP mDNSResponder
To clear the DNS cache on macOS Catalina, type the following into the command prompt:
sudo killall -HUP mDNSResponder
To delete your DNS cache on macOS Mojave, use the following command:
sudo killall -HUP mDNSResponder
This command will flush the DNS cache on macOS High Sierra:
sudo killall -HUP mDNSResponder
Run the following command for macOS Sierra, Mac OS X El Capitan, X Mavericks, X Mountain Lion, or X Lion:
sudo killall -HUP mDNSResponder
In Mac OS X Yosemite, type the following command:
sudo discoveryutil udnsflushcaches
To flush the DNS cache on Mac OS X Snow Leopard, use the following command:
sudo dscacheutil -flushcache
If you’re using Mac OS X Leopard or earlier, type the following command:
sudo lookupd -flushcache
The network adapter will renew its DNS configuration once you run the commands above.
10. Disable IP Version 6 (IPv6)
IPv6 is the most recent version of the internet protocol that identifies devices on the internet and a local network.
However, IPv6 might also be the source of the “DNS server is not responding” problem. If the above options do not address the problem, consider disabling IPv6.
To disable IPv6 on Windows, perform the following steps:
- Navigate to Network Connections, right-click the active connection, and then select Properties.
- Locate Internet Protocol Version 6 (TCP/IPv6) and uncheck the option under the Networking tab.
- Select OK.
To disable IPv6 on your Mac, follow these steps:
- Go to the Apple menu -> System Preferences -> Network.
- Choose the current network connection and then go to Advanced -> TCP/IP.
- Select Off from the Configure IPv6 drop-down menu. Select OK.
If the off option is not accessible in the Configure IPv6 drop-down menu, use the command line to disable IPv6.
To disable IPv6 on a wireless connection, launch the Terminal software on your Mac and type:
networksetup -setv6off Wi-Fi
Instead, use the following command to disable IPv6 on an ethernet connection:
networksetup -setv6off Ethernet
It is also feasible to disable IPv6 on both a wireless and an ethernet connection by using the following command:
networksetup -setv6off Ethernet && networksetup -setv6off Wi-Fi
Restart your device and reconnect to the internet to see if the “DNS server not responding” problem has been fixed.
11. Update the Network Adapter Driver
An outdated network adapter driver may possibly be the cause of the DNS server unavailable on your Windows machine.
You have two options for updating your network adapter driver: manually or automatically.
For beginners who are unfamiliar with driver software, manually updating a network adapter driver can be difficult. As a result, it’s best to automate the process with a tool like Driver Easy, which can help you obtain and install the necessary drivers for your system.
Remember that before using the free edition of Driver Easy, you must first make a system restore point in Windows. If an unforeseen incident occurs, your computer will be able to return to its prior condition.
Follow these steps to automatically update your network adapter driver with Driver Easy:
- On your computer, download and install the Driver Easy software.
- Start the software and press the Scan Now button.
- Next to each of the outdated drivers, click the Update button.
- Wait for the download and installation to finish before restarting your computer.
When you’re finished, go back to the website you wish to access and see if this solution fixed the “your DNS server might be unavailable” problem.
What Causes the “DNS Server Isn’t Responding” Error?
Incorrectly configured DNS records are one of the most common causes of DNS server failure. This can happen if users do not enter the necessary data or IP addresses during the recording procedure.
Other probable reasons of the “DNS server not responding” problem include:
- DNS provider unavailable. Because of DNS issues on its network, such as severe traffic and server outages, your DNS service may cease to function.
- Router or modem malfunction. DNS problems might also be caused by a broken network or modem. To establish whether your router is causing the DNS problem, try swapping ethernet ports or utilizing different ethernet cables.
- Hardware or network problems. The “DNS server unavailable” problem can also be caused by hardware or network failures. For example, a single server may fail to correctly transmit information to the next server.
- Antivirus software. When a software provider upgrades an antivirus application, the program may claim your computer is contaminated and block your internet access. When this happens, your browser may display the message “your DNS server might be unavailable.”
Conclusion
The “DNS server not responding” warning indicates that your browser is unable to connect to the internet, which is frequently caused by DNS failures or network issues.
Here are some of the most popular ways to resolve the “DNS server unavailable” problem:
- Troubleshoot network problems. To identify and fix internet connection issues, run network diagnostics.
- Restart modem or router. Clear the cache on your modem or router by hitting the power button and removing the power cable.
- Deactivate antivirus and firewall. Disabling your antivirus and firewall software temporarily may help to resolve the DNS problem.
- Flush DNS cache. To refresh the DNS configuration, clear the router cache.
- Change DNS server address. Replace the address of your ISP with a different DNS address.
We hope this post has assisted you in resolving the “your DNS server might be unavailable” problem.
Please leave any further questions or recommendations in the comments area below.


